There is a point in every repaint where you just stop caring. The job is done, the smell is gone, life goes back to normal. Walls become wallpaper.
Then one morning the light falls differently and there it is. A crack. Thin as a thread, running quietly down the corner. You did not notice it yesterday. You will not stop noticing it now. A line. Running quietly from the corner of the window frame down towards the skirting. It was not there before. Or maybe it was and you just were not looking.
That moment is where most wall crack repair journeys begin. Not with panic, not with a contractor’s number, but with a long stare and the slow realisation that something needs attention.
Here is what experience teaches you: most cracks are not the disaster they look like. Buildings breathe. Plaster contracts in the heat of a Delhi June and expands again when the humidity rolls in. That movement leaves marks. Wall crack repair, done well, is less about damage control and more about understanding what the wall is actually telling you.
Read the Crack Before You Touch It
A hairline crack near a door frame is almost always just the building settling. Nothing dramatic. But a crack that runs diagonally, or one that looks slightly wider every time you check, that is worth paying attention to before you reach for the filler. Structural cracks need a professional’s eye before any surface work begins.
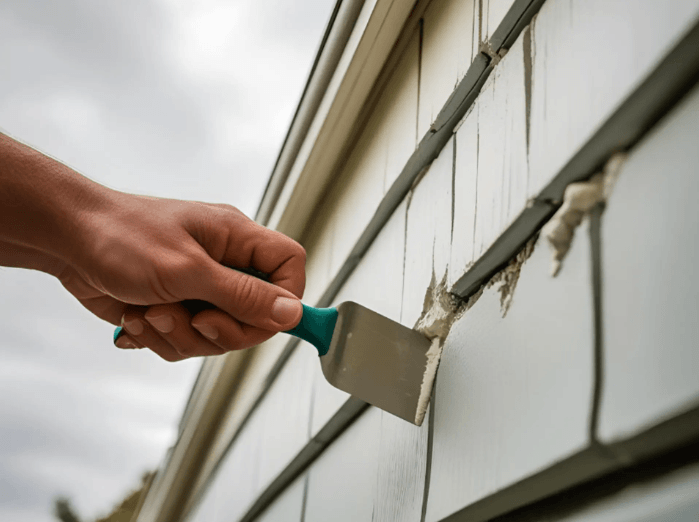
For everything else, the surface repair process is straightforward. What makes it work or not work is preparation, not product. A crack that is not properly cleaned out will reject any filler you put in it. Loose plaster, dust, old paint flakes. All of it has to go first.
The Part Nobody Talks About Enough
Filling is visible. Priming is invisible. That is probably why priming gets skipped so often and it is exactly why so many repairs look patchy three months later.
A proper wall crack repair needs the filled area to be sealed before paint goes anywhere near it. Without that, the repaired patch absorbs paint at a completely different rate from the surrounding wall. The colour looks right when wet and wrong when dry. No number of additional coats will fix that particular problem.
Where Wall Putty Comes In
This is where surface preparation stops being a chore and starts being craft. A smooth, well-applied putty layer is what separates a repair that disappears into the wall from one that sits on top of it. Wall putty artwork is not a dramatic term. It just means treating the surface with enough care that the final result is genuinely seamless.
Good wall putty artwork requires the right material. A putty with real adhesion and smoothness does not just fill the crack, it blends the repaired area into the wall around it. Whiteness matters here more than people expect. A patchy, grey-toned repair under light-coloured paint will ghost through, no matter how good the topcoat is.
See also: Smart Home Improvements That Can Add Value to Your Property
What JK Maxx Paints Has for This
Two products worth knowing about if you are taking a wall crack repair seriously. JK WallMaxx Advanced is a premium wall putty built on advanced polymer technology that delivers genuine smoothness, strong adhesion and better whiteness, so the repaired area does not stand out under paint.
For walls that have seen moisture, staining, or seasonal damp patches, JK ShieldMaxX is a white cement based waterproof putty with active SiH4 molecules. It resists dampness and efflorescence and leaves a velvet-like finish that makes wall putty artwork feel less like maintenance and more like restoration. Both are ready to use and work on interior surfaces without fuss.
One Last Thing
A good repair is one you forget about. Not because the crack was minor, but because the process was thorough enough that the wall just looks like a wall again. That is the actual goal. Not a wall that has been fixed. A wall that looks like it never needed fixing in the first place.
